


Setting up a python environment is hard for beginners.
In this blog, I am going to teach you how to set up your own Python environment.
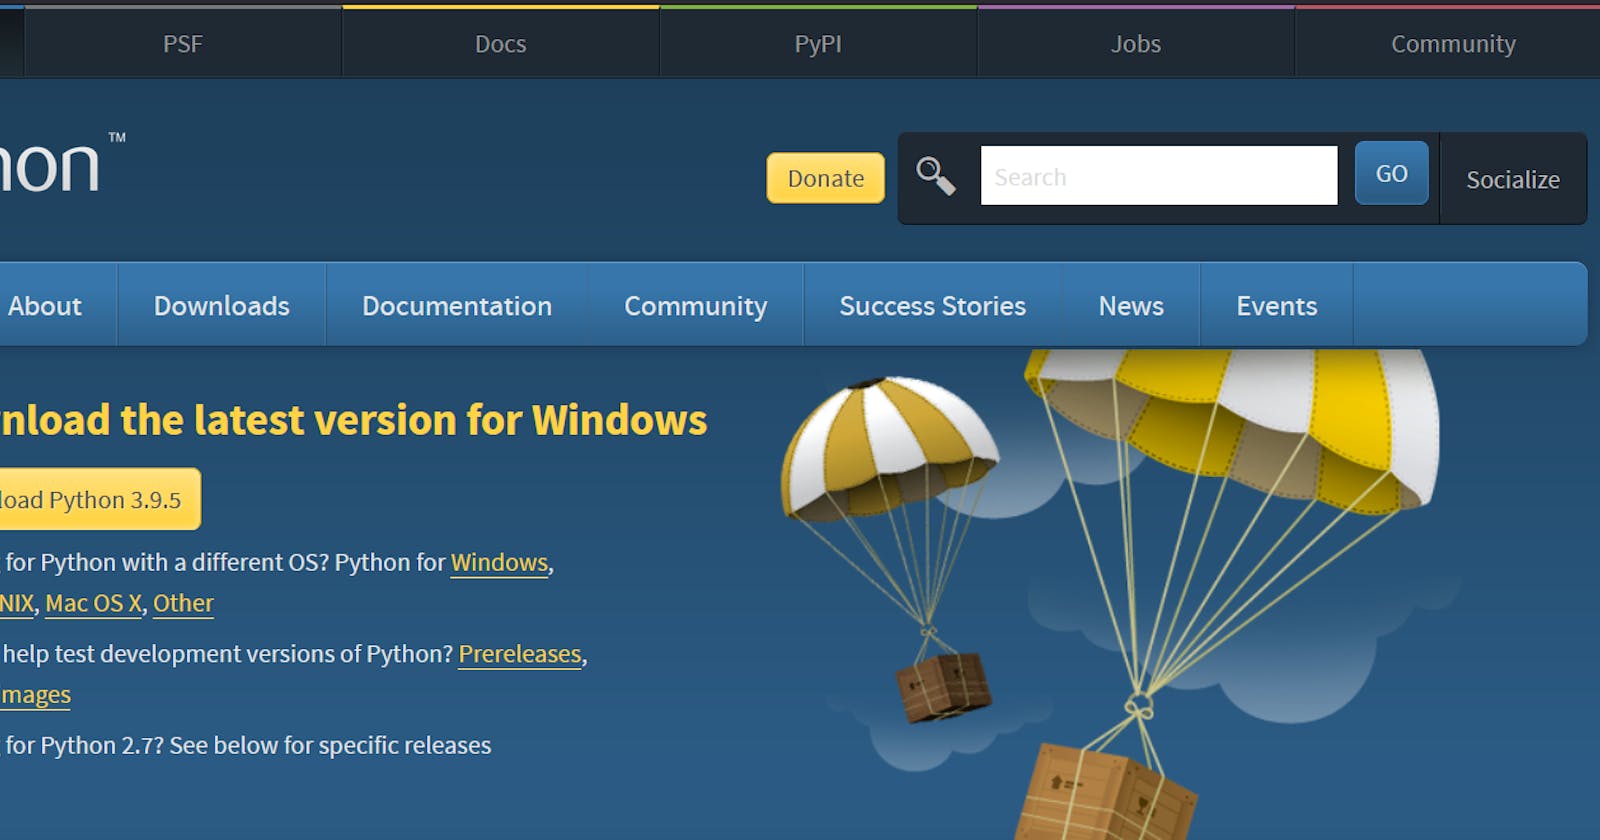
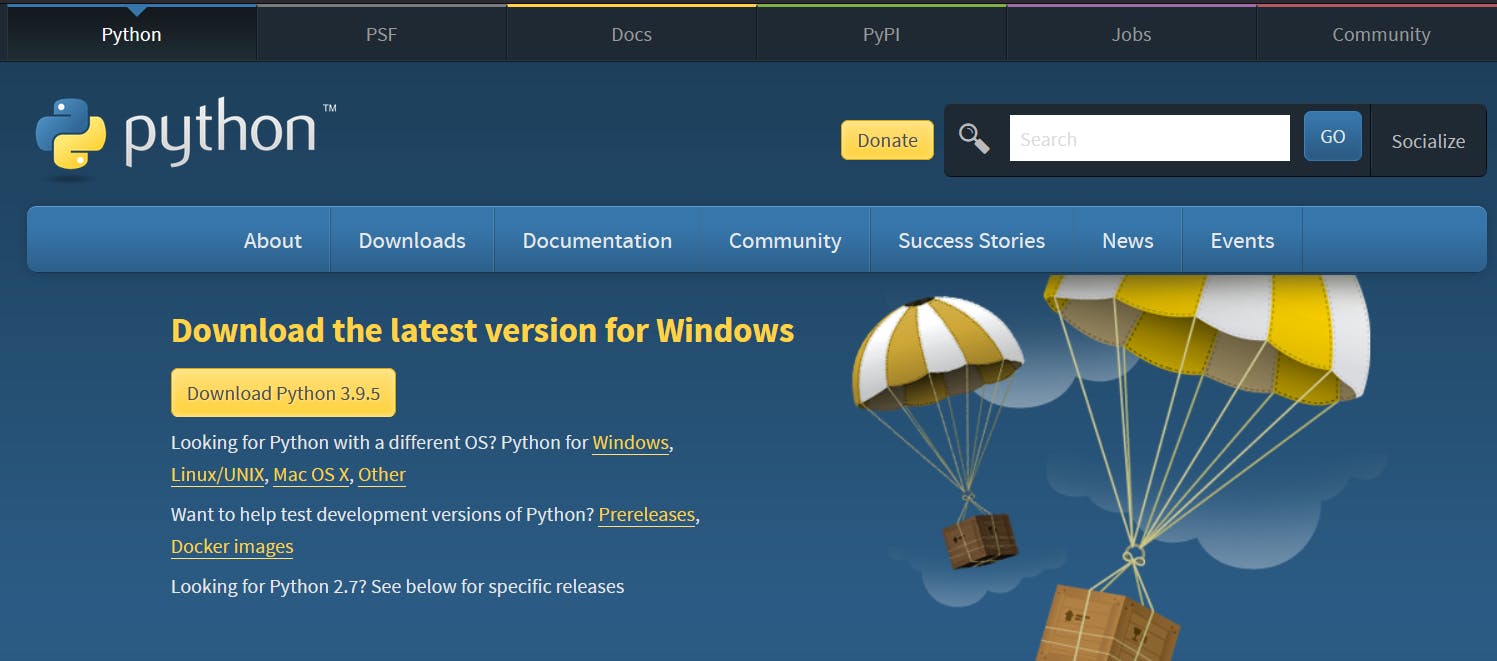
Step 1: Go to python.org/downloads
- Download the latest Python version and wait for the download to finish.
Python Version: Python 3.9.5
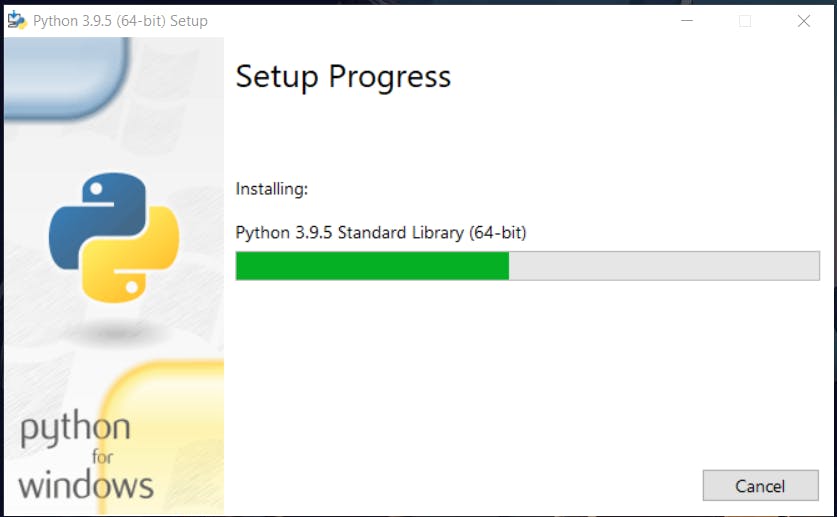
Step 2: Open the Python 3.9.5
Note: Make sure that "Add Python 3.9 to PATH" is check

- Wait for the download to be completed and click the "Close" button after the installation.
Step 3: Choosing an IDE (Integrated Development Environment)
An IDE makes it easier for programmers to write their codes with tools for software testing and writing.
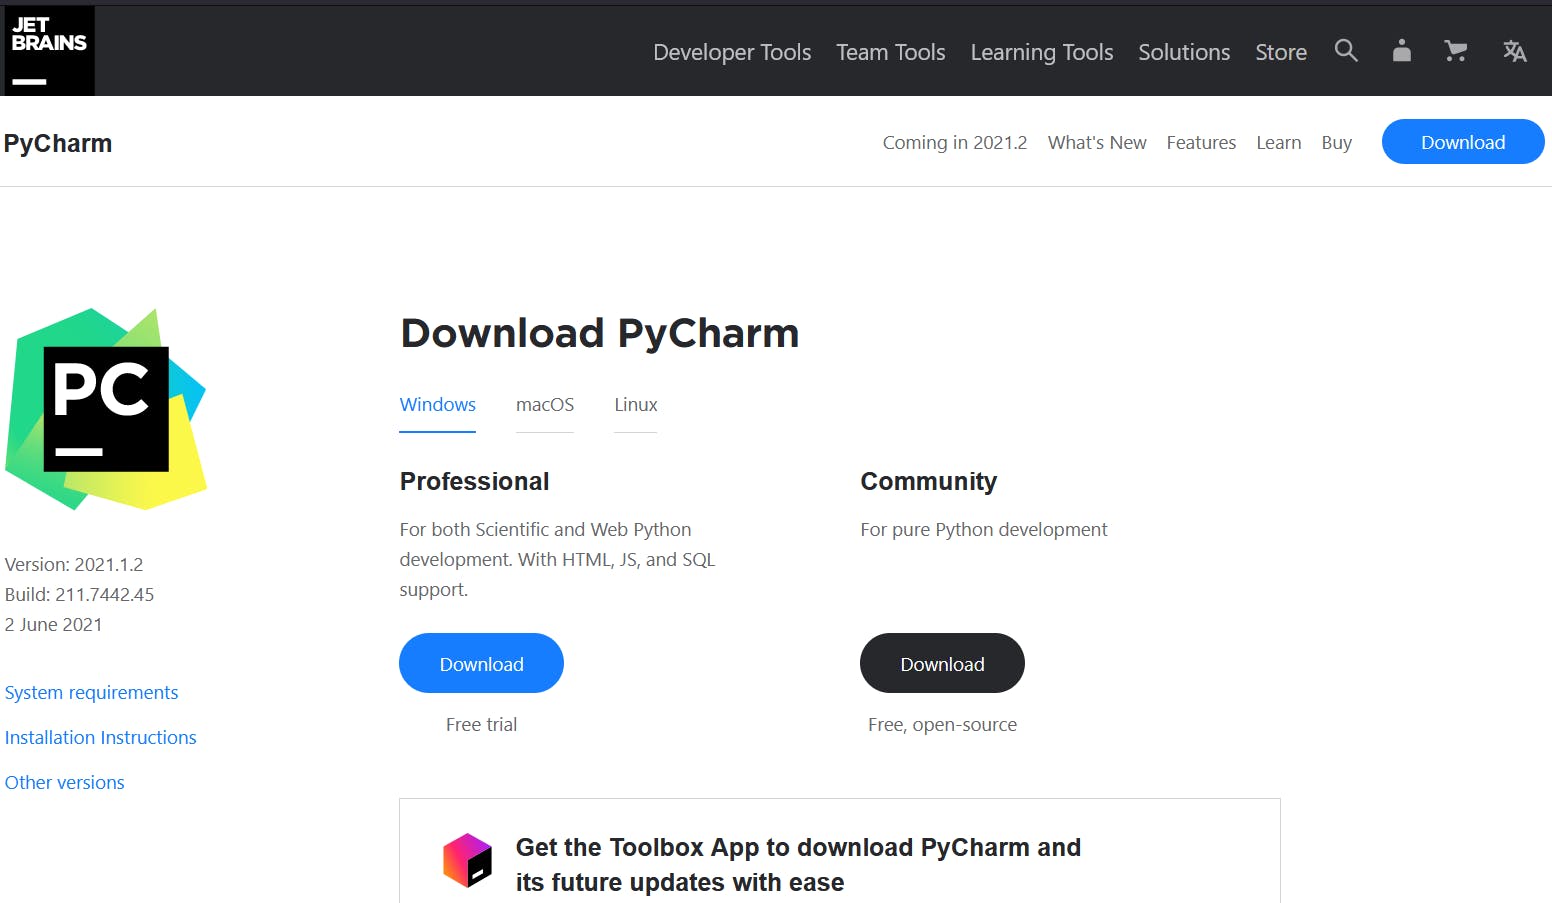
For this tutorial, we are going to use PyCharm Community which is free.
To download PyCharm go to:
jetbrains.com/pycharm/download/#section=win.. for Windows
Click the "Download" button and wait for the download to finish.
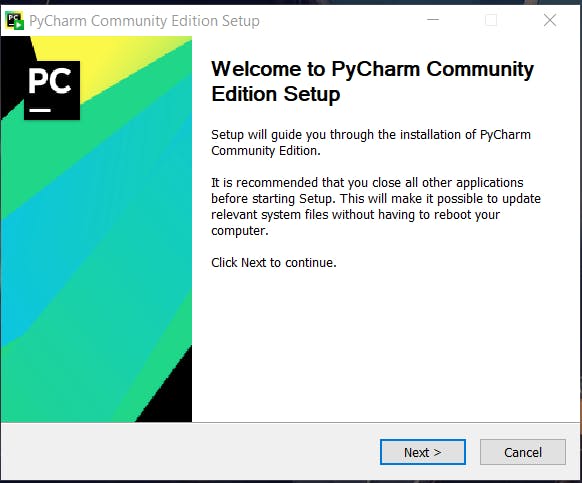
Step 4: Open the PyCharm Community file that you download.
You will see this welcome page for the installation and then click the "Next" button.
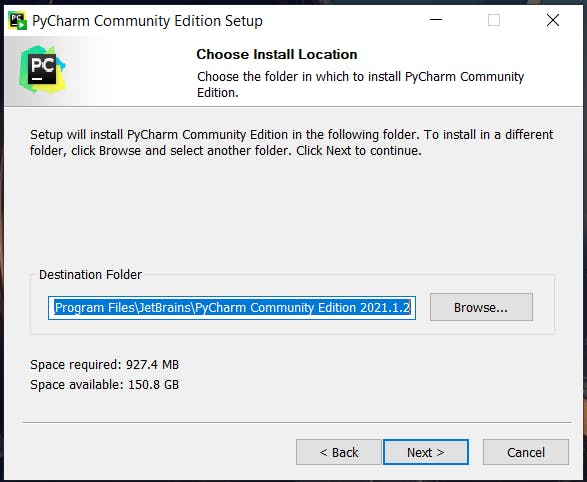
In this section, you can customize the destination folder for the installation.
For the sake of this tutorial, we are going to choose the default destination folder.
Click the "Next" button.
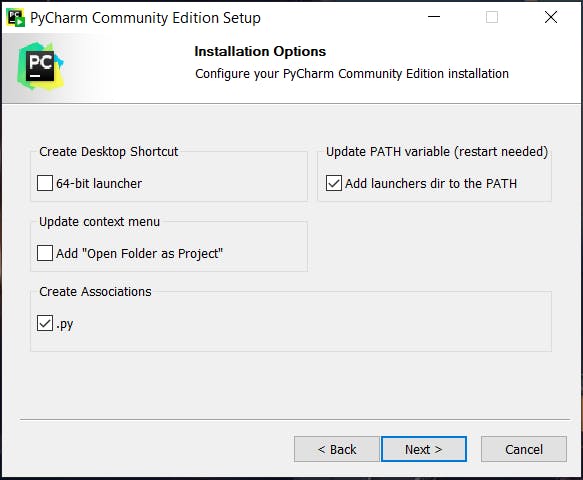
- For the installation options, makes sure that the
"Add launchers dir to the PATH" is check
- You can include the other options if you want, but I will only include the ".py" extension.
Click the "Next" button.
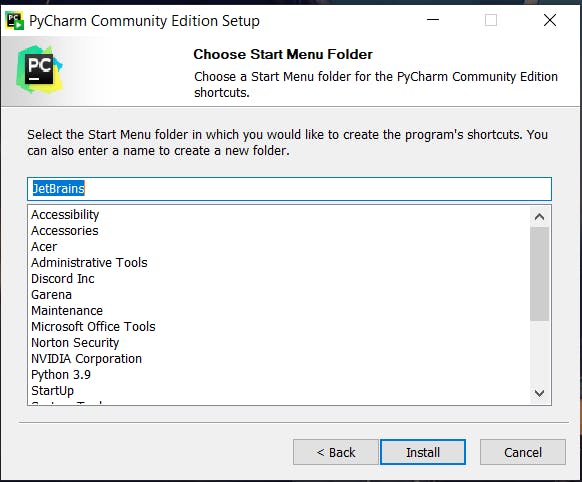
- Choose "JetBrains" as the default start menu folder.
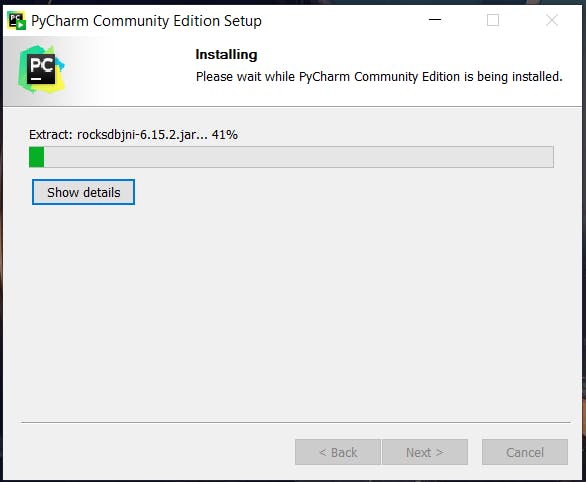
Click the "Install" button.
- PyCharm will start installing all the necessary files needed.
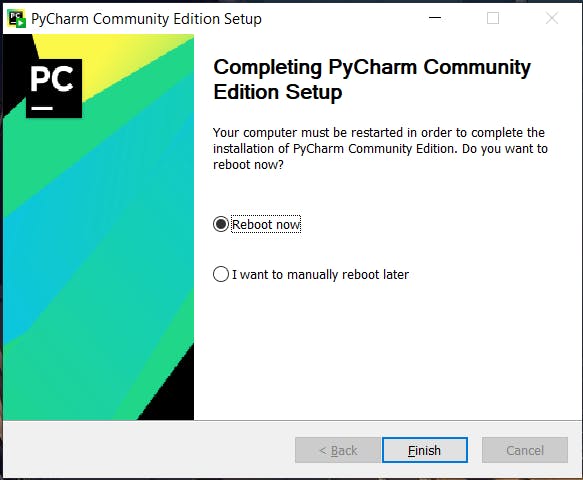
After completing the PyCharm Community Edition installation, you can either choose to "Reboot now" or "I want to manually reboot later".
For the sake of this tutorial, I will choose "Reboot now" to test if PyCharm is working just fine.
After choosing your desired option, click the "Finish" button.
- That's it! After a reboot, launch PyCharm, create a project, and wait for the extra files to be downloaded.
If you encounter any issues comment below or reach out to me on Twitter @ twitter.com/hellorhanzel